
Users
A User in Critical Labs is anyone who has received an invitation into the application and has created a profile. Each user is assigned to at least one company and given permissions that allow them to do various things throughout the application.
Viewing Users
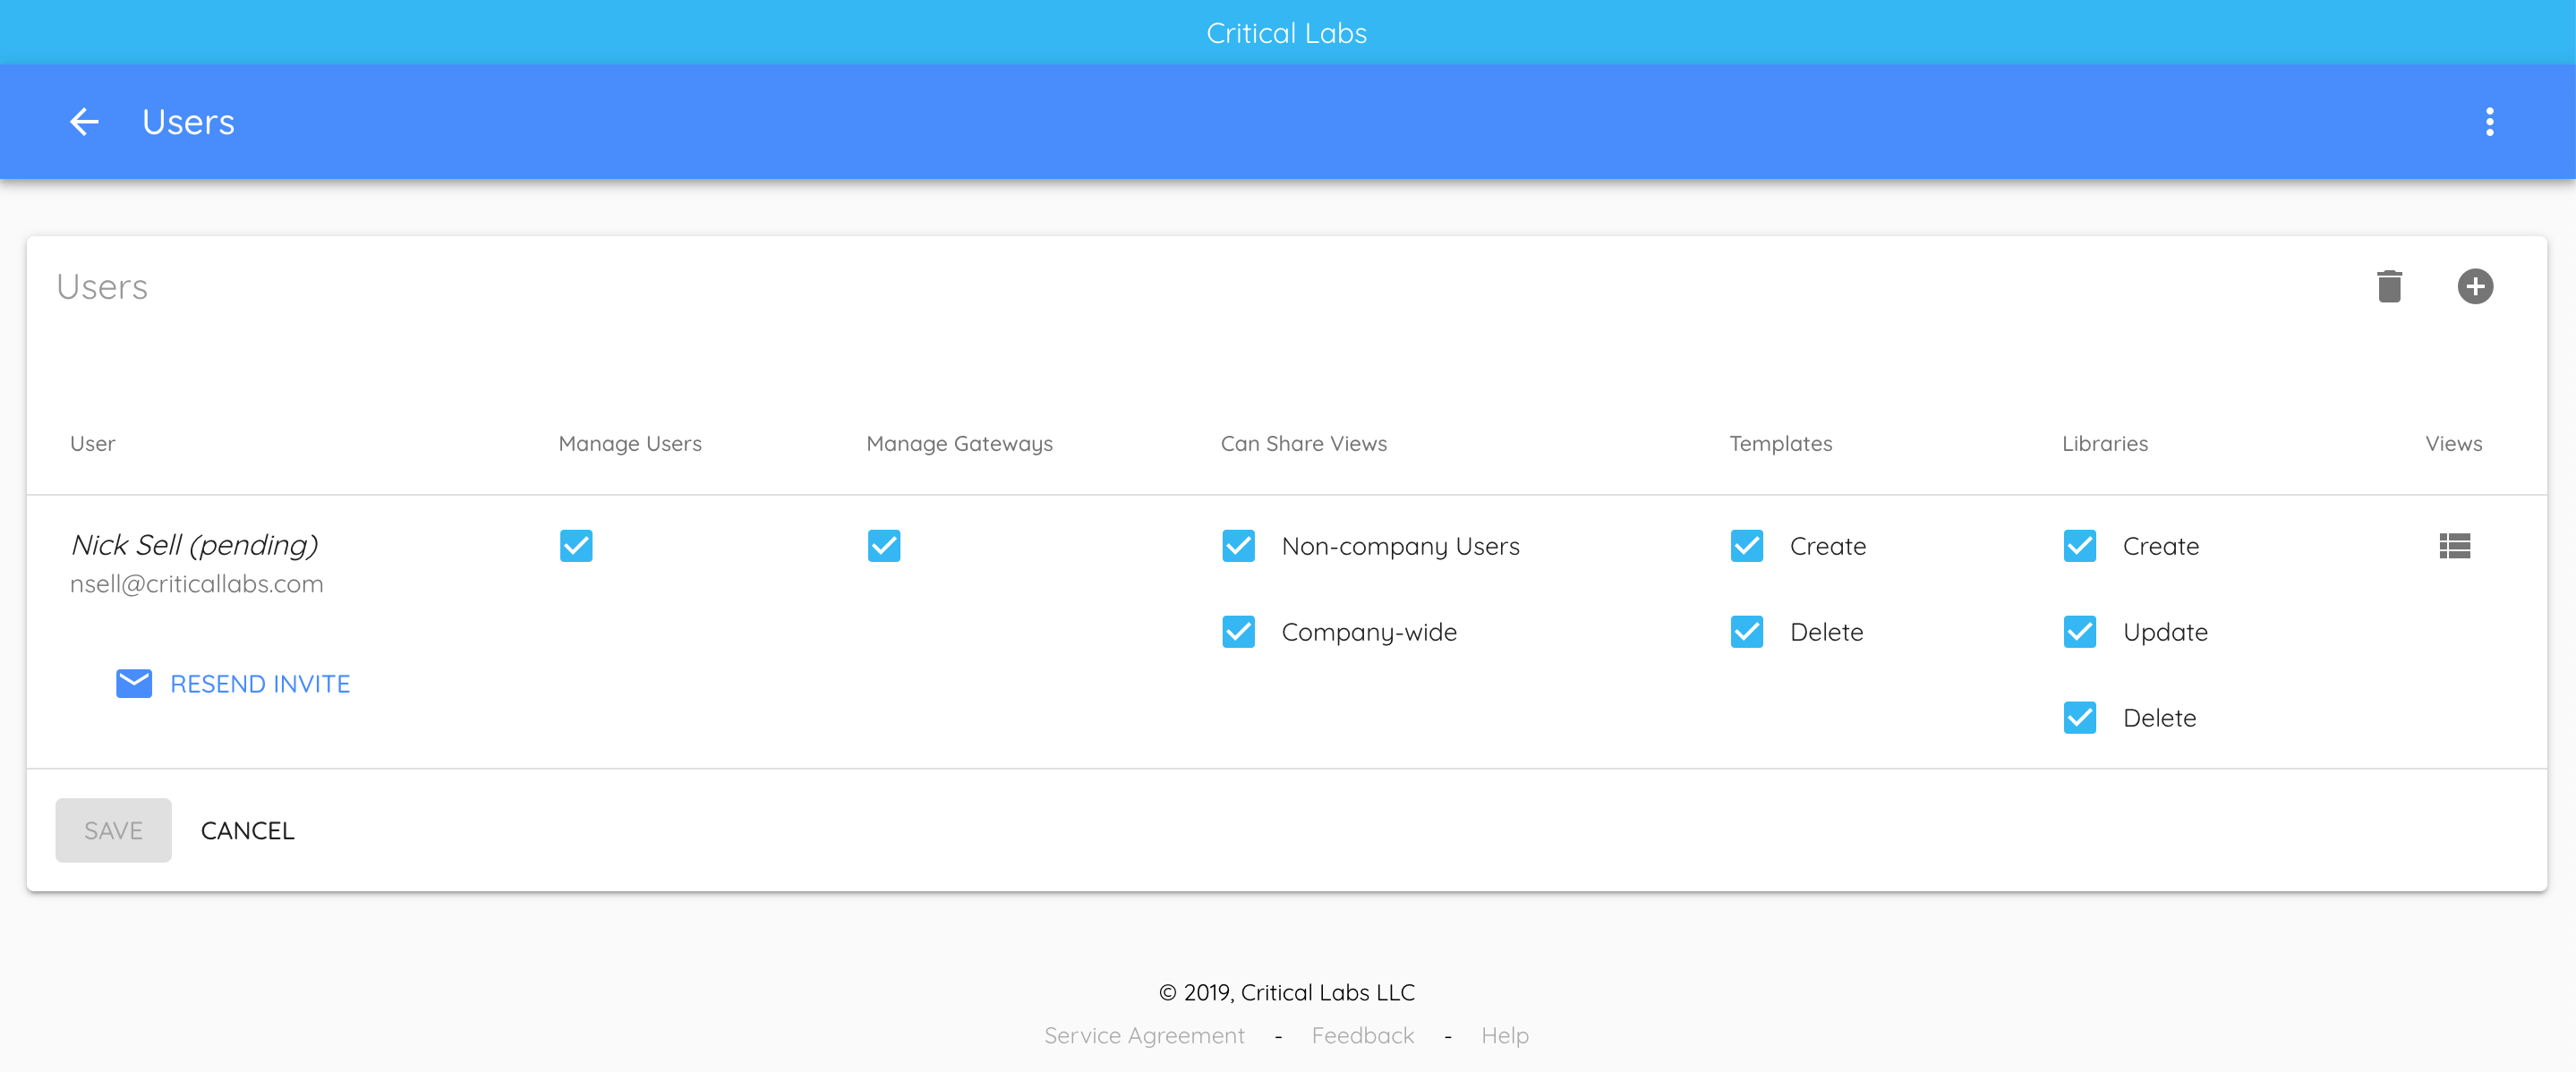
To view a list of Users, make sure you have selected the appropriate Company, then open the Navigation Menu and select Users. Here you will see a table that displays all of the users that are associated with the company and which permissions they have been given.
Adding Users
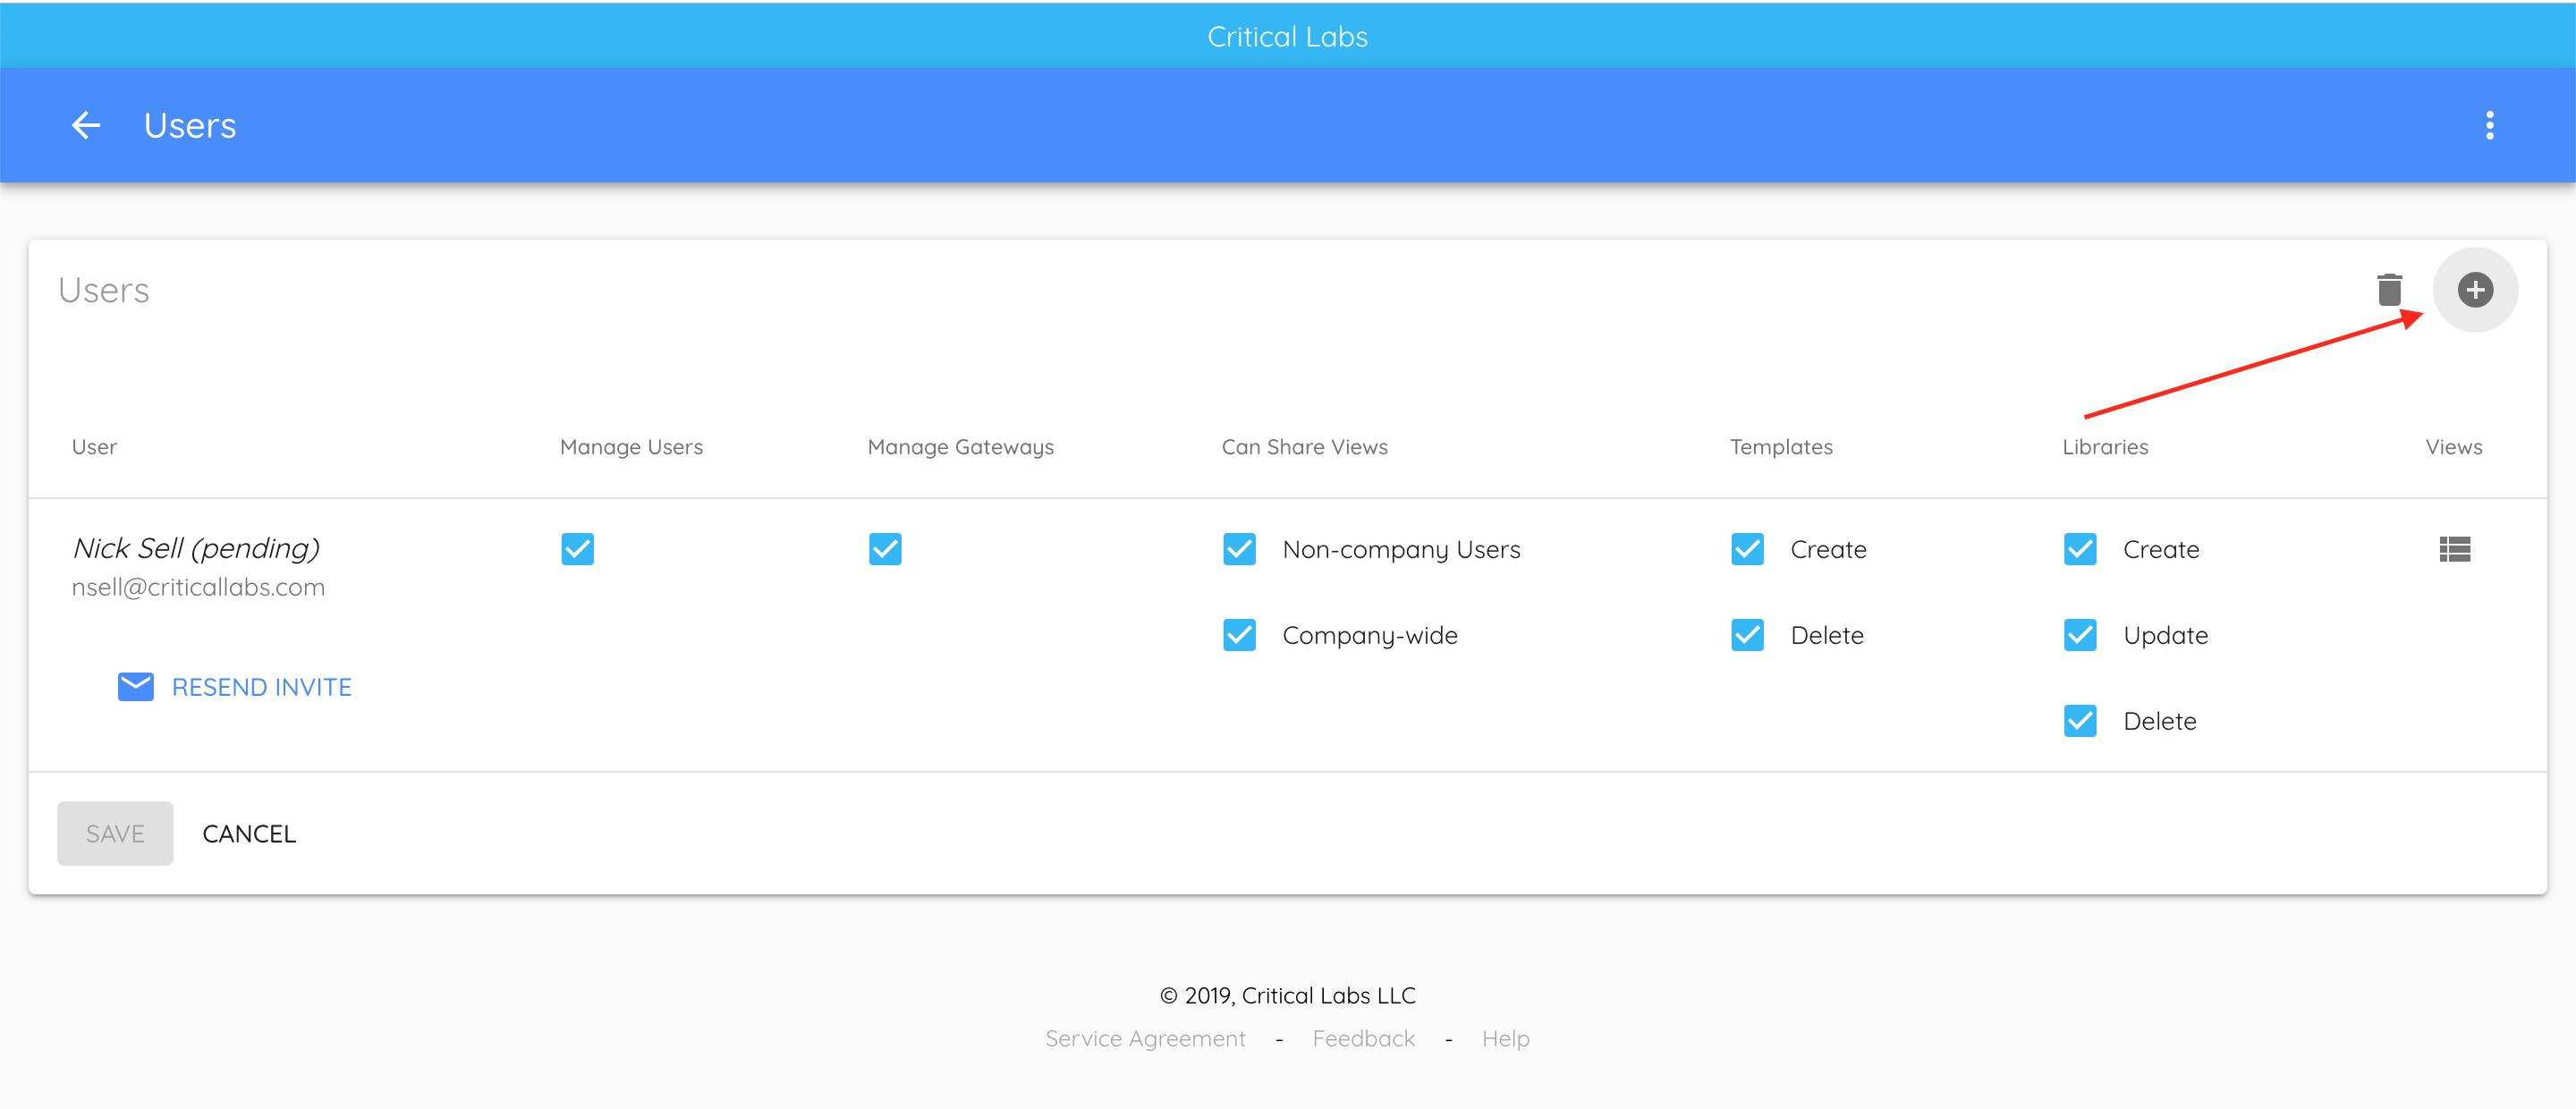
To add a new user, click the Add button to the far right of Users.
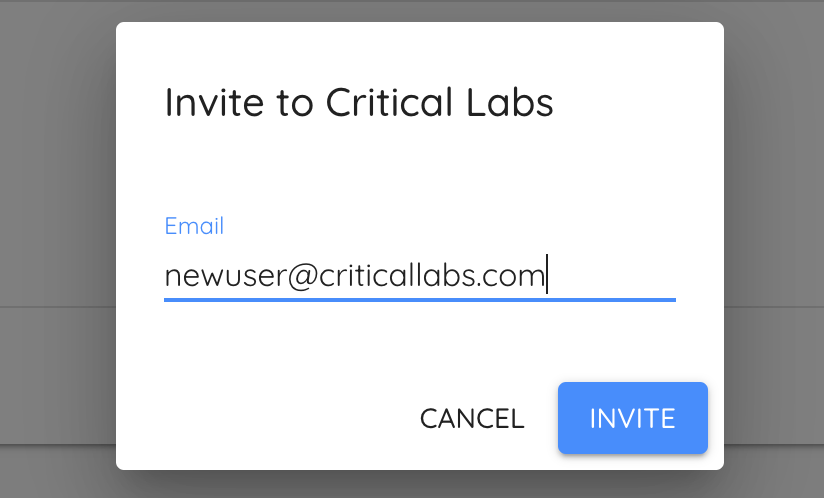
You will be prompted to enter the new user's email address, then click Invite. An email containing a sign-up link will be sent to the new user which will grant access to the Company from which the invitation was sent.
They should receive an email that looks like this:
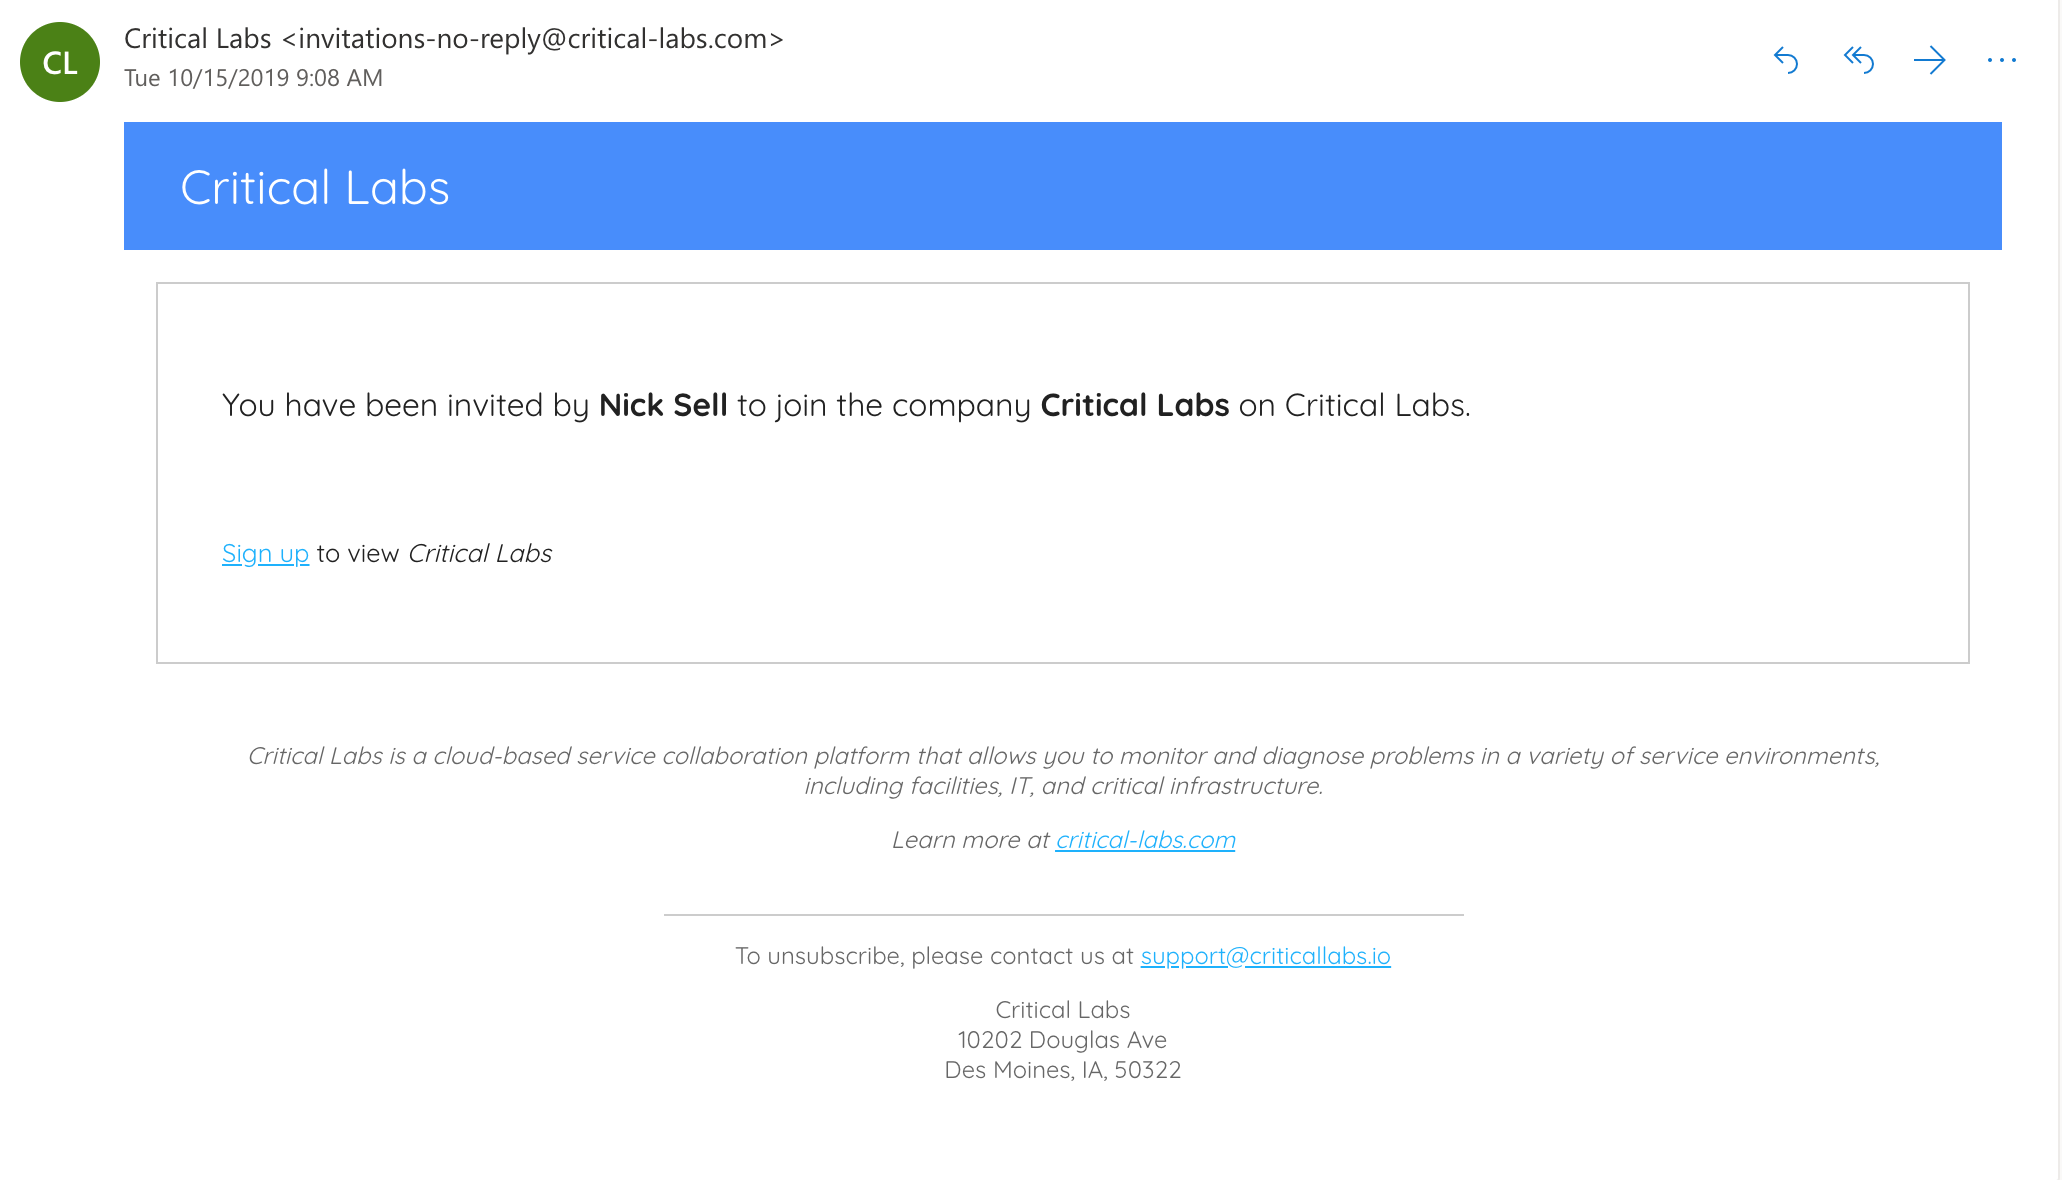
Once you have sent the invitation, the new user will appear on the Users page in the pending status. If the user did not receive the invitation email, or accidentally deleted it, you can resend the email by clicking the Resend Invite button.

Removing Users
From the User page, select the delete icon to the right of Users. Each user will now have a delete icon next to it. Next, select the delete icon to the right of the users that you wish to remove.
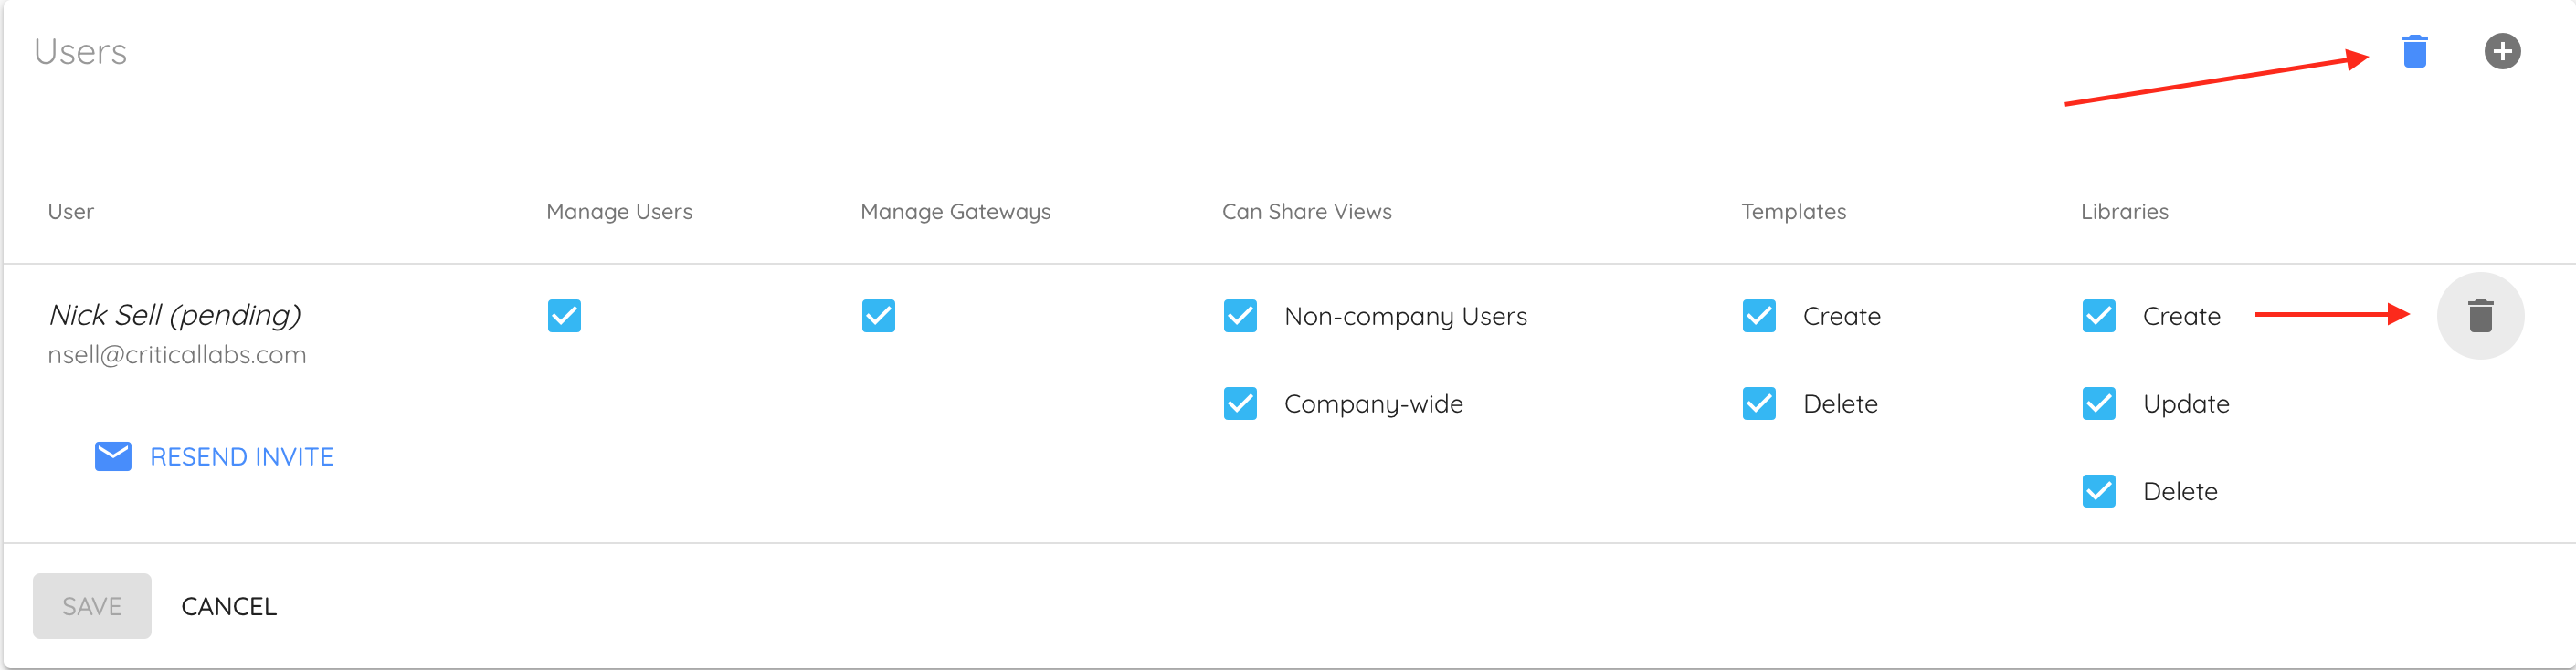
Once you have finished removing the user, click the blue delete icon to stop deleting users.
Permissions
Critical Labs uses a role-based permission scheme to control access to certain functionalities within the application. To modify permissions you must have the Manage Users permission.
Modifying a Users permissions
From the User page, you will see a table that displays a checkbox for each permission available next to each user. To add or remove a permission, simply check/uncheck the respective checkboxes and click Save.
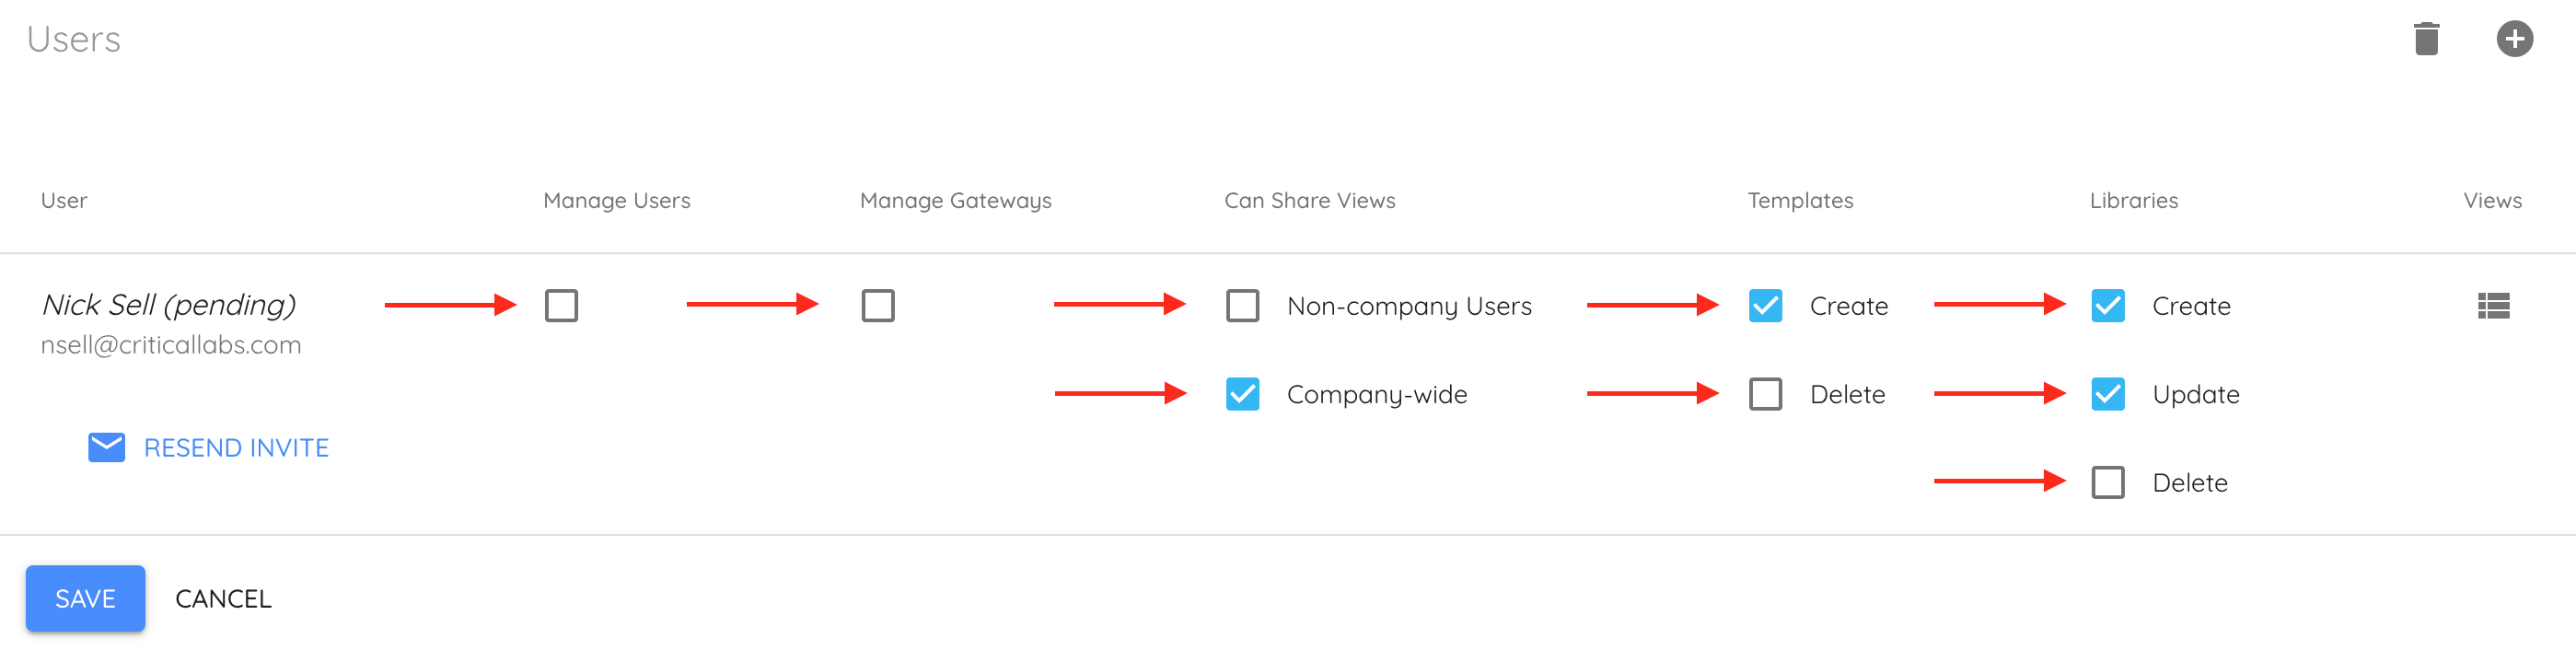
View permissions are handled individually for each view. To modify view permissions, click the icon below the Views header to open up the View dialog.

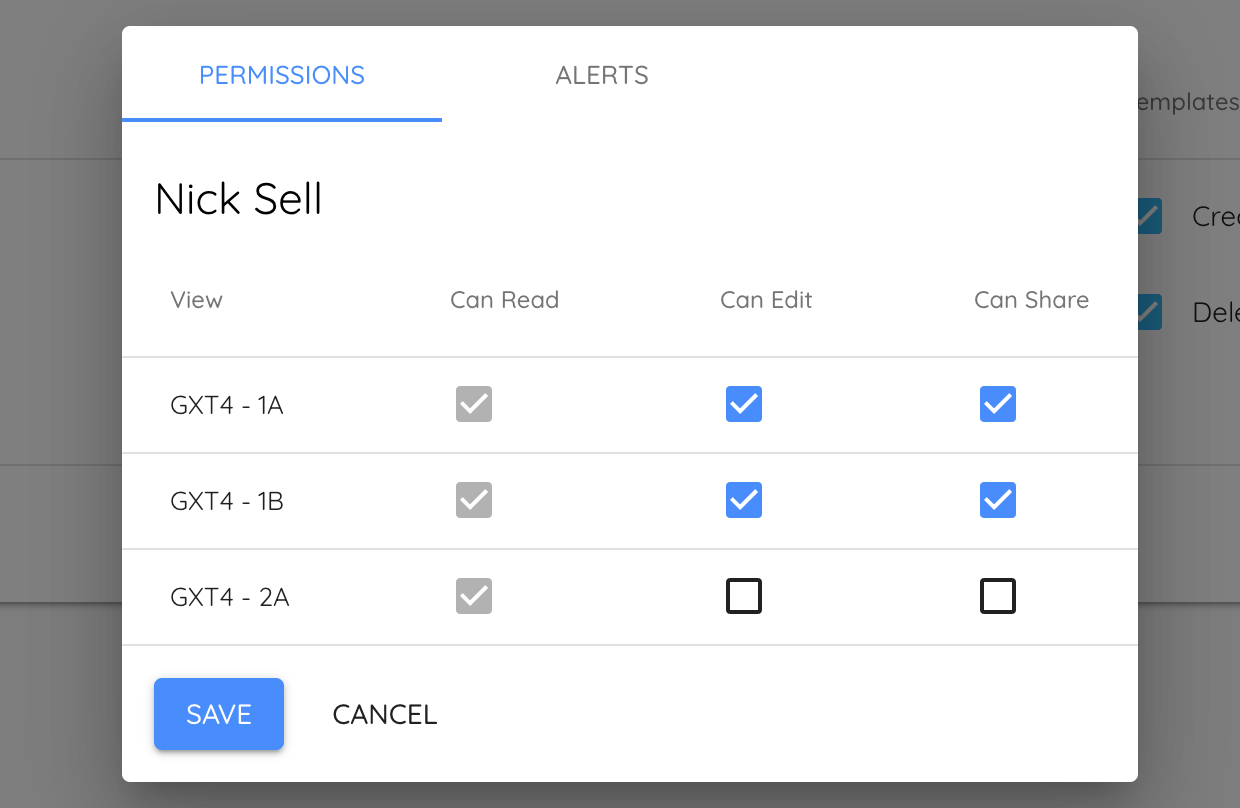
Once you have finished modifying view permissions, click the Save button from within the dialog. You can also use this dialog to manage a user's alerts. To learn more about alerts, follow the link below to move on to the next section.
Up Next -> Alerts, Thresholds, and Deadband
Comments
0 comments
Article is closed for comments.